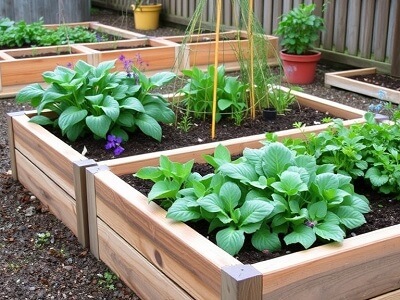
Pathogen-free soils are available in garden centers, but sterilizing potting soil will help assure you of safe, chemical-free mixes for your plants.
- Clean everything associated with sterilizing potting soil before and after treatment. Your purpose is to kill contaminants and to avoid re-infection.
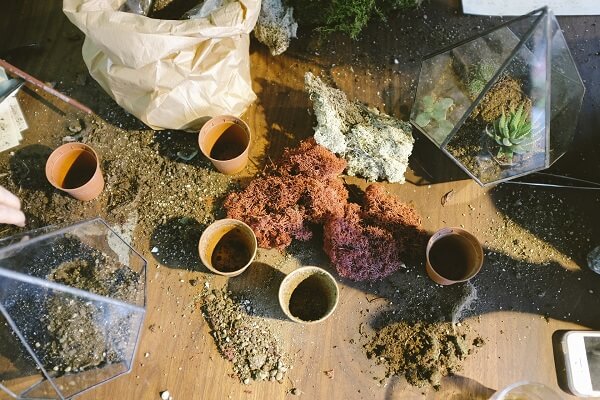
- Remove any large pieces and debris prior to sterilization.
- Sterilizing potting soil means using moist garden topsoil, not wet. It should crumble easily, not be compacted.
- Dry topsoil is very difficult to sterilize. Add some water, as necessary.
- Add whatever amendments the topsoil needs prior to sterilization.
- The time it takes when sterilizing potting soil depends on the volume of the topsoil and its moisture content.
- When sterilizing potting soil, a strong odor develops. Provide adequate ventilation during treatment.
Clean potting soil means happy plants!
Sterilizing Potting Soil at Home
Oven Method of Sterilizing Potting Soil
- Have ready a candy or meat thermometer, some shallow clay pots, glass or aluminum pans, etc. for containers. If you do not have tightly fitting lids, use aluminum foil for cover.
- Pre-heat the oven at 200°F.
- Properly sterilizing potting soil means evenly spreading the topsoil up to four inches deep in the container. Cover with aluminum foil carefully. Press the edges for a tight seal. Create a tiny opening in the middle of the foil so that you can place the thermometer in the potting soil through the foil. Watch the thermometer reading so that you can adjust the oven temperature as necessary.
- In sterilizing potting soil, the thermometer should register up to at least 180°F but definitely below 200°F and for a period of 30 minutes. At too high a temperature, you will have an accumulation of minerals, salts, and/or ammonium/soluble organic compounds that are toxic to your plants.
- When done, remove the covered containers from the oven and let the mix cool naturally. Keep the aluminum foil on until you are ready to use the mix.
Microwave Method of Sterilizing Potting Soil
- Sterilizing potting soil in the microwave means using small amounts of topsoil
- Do not use any container that is foiled or has any metal on it. You can microwave up to two pounds at a time.
- Polypropylene bags are excellent containers for sterilizing potting soil using the microwave method. Put the topsoil in the open bag and place in the microwave.
- For a microwave with 650 watts, you will need to treat for two-and-one-half minutes.
- Never microwave for longer than two minutes to avoid toxins from developing.
- When using this method of sterilizing potting soil, close the bag after the process and allow to cool naturally before taking it out of the microwave.
Sterilizing Potting Soil Also Means Testing for Toxicity
- If you suspect toxicity, plant a few seeds in the sterilized mix. You may want to try lettuce as it has a high germination rate.
- If the lettuce seeds do not germinate, discard the mix
Knowledge in sterilizing potting soil will help you control the quality of the medium for your plants.